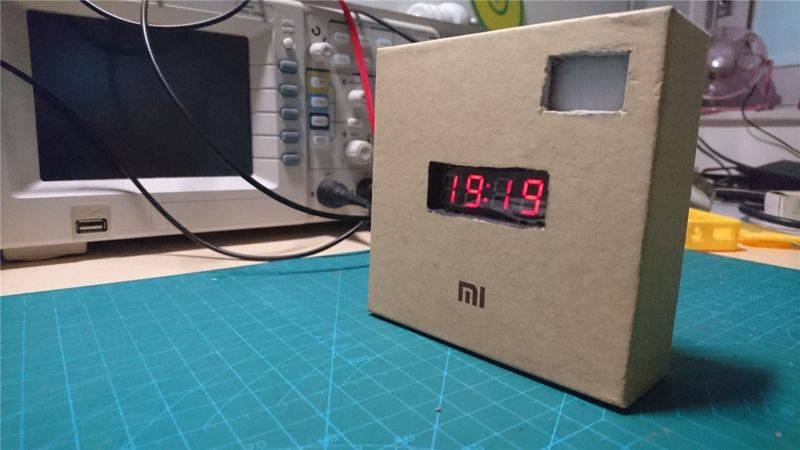
Finished drawing
————————————————————————————————————
Approximate material:
IC: stc89c52, ds1302
Crystal oscillator: 11.0592M, 32.768K
Capacitance: 10uf, 30pf,
Resistance: 10k
40-pin ic socket, cr2032 battery holder, cr2032 battery, button, buzzer, white light diode, blue light diode, red light diode, (sMD)
A cut size suitable charging treasure, used for dismantling ~ ~ will be explained
Several wires
Essential tool
————————————————————————————————————
Tutorial steps ----
First determine the function and appearance of your electronic clock, and then you can summarize what hardware is needed to support it.
For example, my electronic clock, mainly small can be placed on the desktop, look at the time, you can not always plug in,
When you lose power, you can re-adjust it, there is an alarm clock function, plus a led light that can be lit, sometimes used for lighting.
Next, we must do hardware design and program programming according to the idea.
Since it is to be displayed, for example, use an lcd, civilian version of the digital tube bar display = digital tube, alarm = buzzer, programmable = single-chip, timing = timing dedicated chip = ds1302, timing = with the button, Led=LED~~~
Ok, okay, it’s all out. . How are you connected together? . . . . . . . . . ? ? ?
Check it out. . Look at the data page
Now put the pins out,. . .
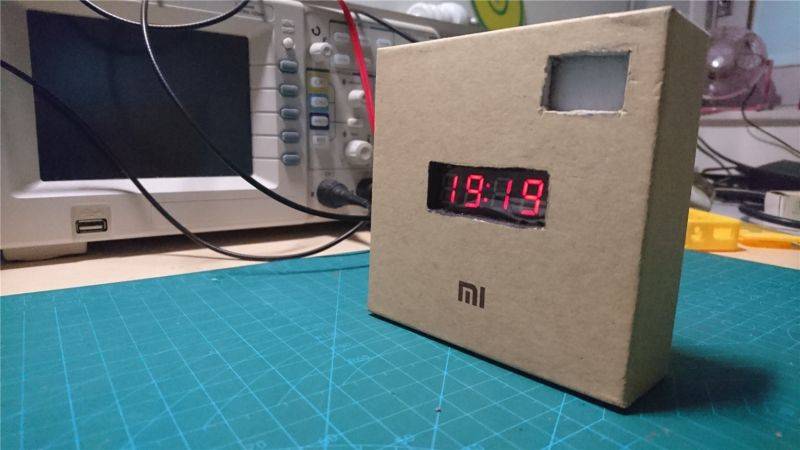

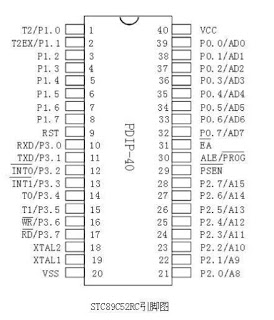
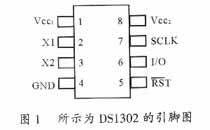
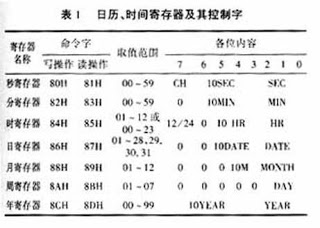
How do you connect the digital tube?
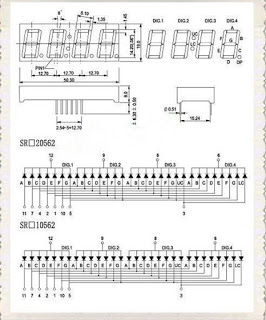
In fact, this common Yin tube is my return,
If you don't understand the information, you can see my connection diagram.

————————————————————————————————————————————————
Programming:
For beginners, this is the hardest part of MCU production, but it is also the most interesting part.
It is not difficult to understand the driving methods of these ic. According to the timing diagram and the online driver, look at ic.
How does it work?
However, you don't know how to use the ic driver. As long as you use these functions, the call will be in your design.
--------------------------------------------------
The next production step. . .
The first is to download the program to the minimum system board under test.
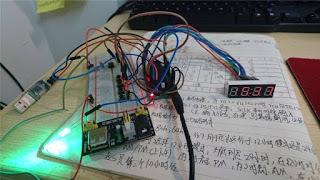
I tested it for two or three days, step by step, and each function was tested and written together.
Remove three charging treasures

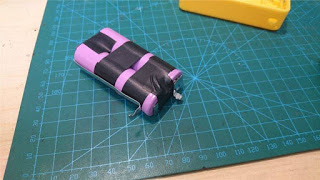
Wrap it up. . Parallel, leading to positive and negative.
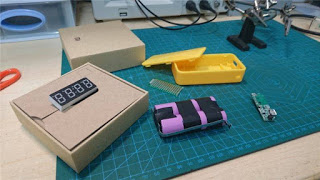
I found a box of the same size, I found a box with a Xiaomi bracelet.
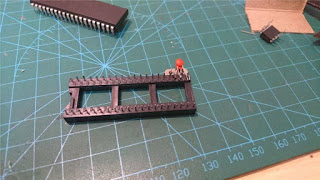
Make a minimum system board according to the circuit diagram, and build a shed on the socket.
This is convenient, for you to remove the charging treasure, because the 89c52 wants 5v. Charging treasure comes with boost. So just by the way
Used to remove

Ds1302 board. . . As for the three components, in fact, the scaffolding is also OK. .
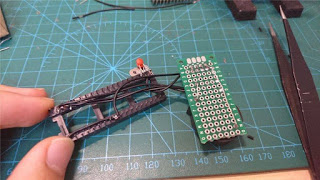
Positive and negative, signal lines, all connected
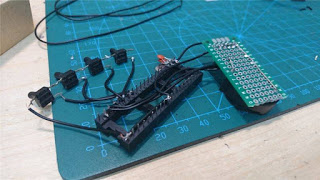
Buttons are also set up
Digital tube
Quickly plug in the microcontroller test
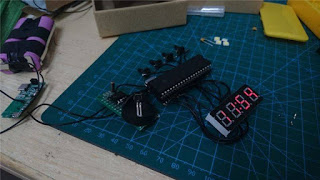
Led also made it, put the battery into the test position
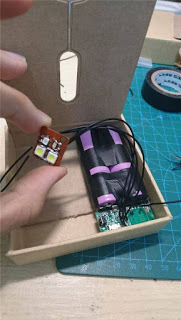
Press the button to open the hole, then use a soldering iron to burn it down, the hole will be better.
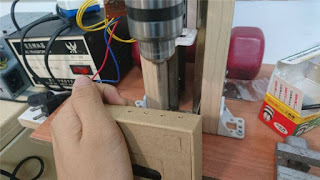
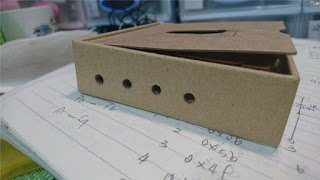
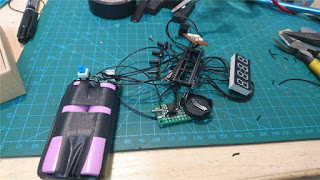
A bunch of lines. . . . Don't make a mistake, otherwise the inspection will be very troublesome.
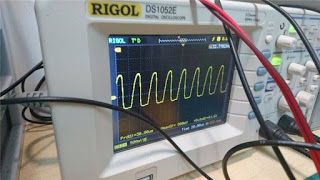
If the clock does not go away, most of them are the crystal oscillator problem of ds1302. Now the oscilloscope shows that
The crystal oscillator is normal,
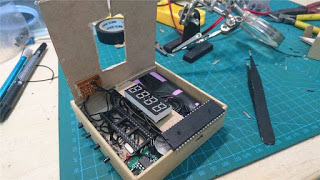
Hurry and find the location to plug in. ! ! ! . .
Hot melt adhesive is good.

The moment is much more neat. . .
When this has gone through a lot of hard work. .

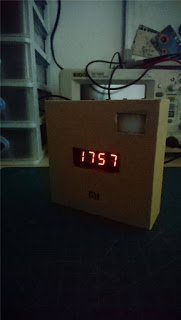
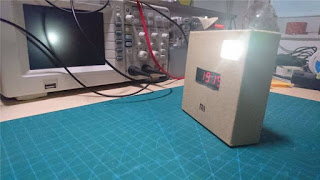
Close the lid. . Get the shell. . Box dig hole


Dimming

-------------------------------------------------- ---
This is the tutorial, have you learned it? . The steps may be less detailed. But not everyone uses the Xiaomi bracelet box, so that part is omitted.
Follow Me
twitter:https://twitter.com/TencoTechnology
facebook:https://www.facebook.com/tencotechnology
linkedin:https://www.linkedin.com/in/nicole-song-64400b147/

 Englisch
  Chinesisch
  Deutsch
  Koreanisch
  Japanisch
  Farsi
Farsi  Portuguese
  Russian
  Spanisch


